White Bread
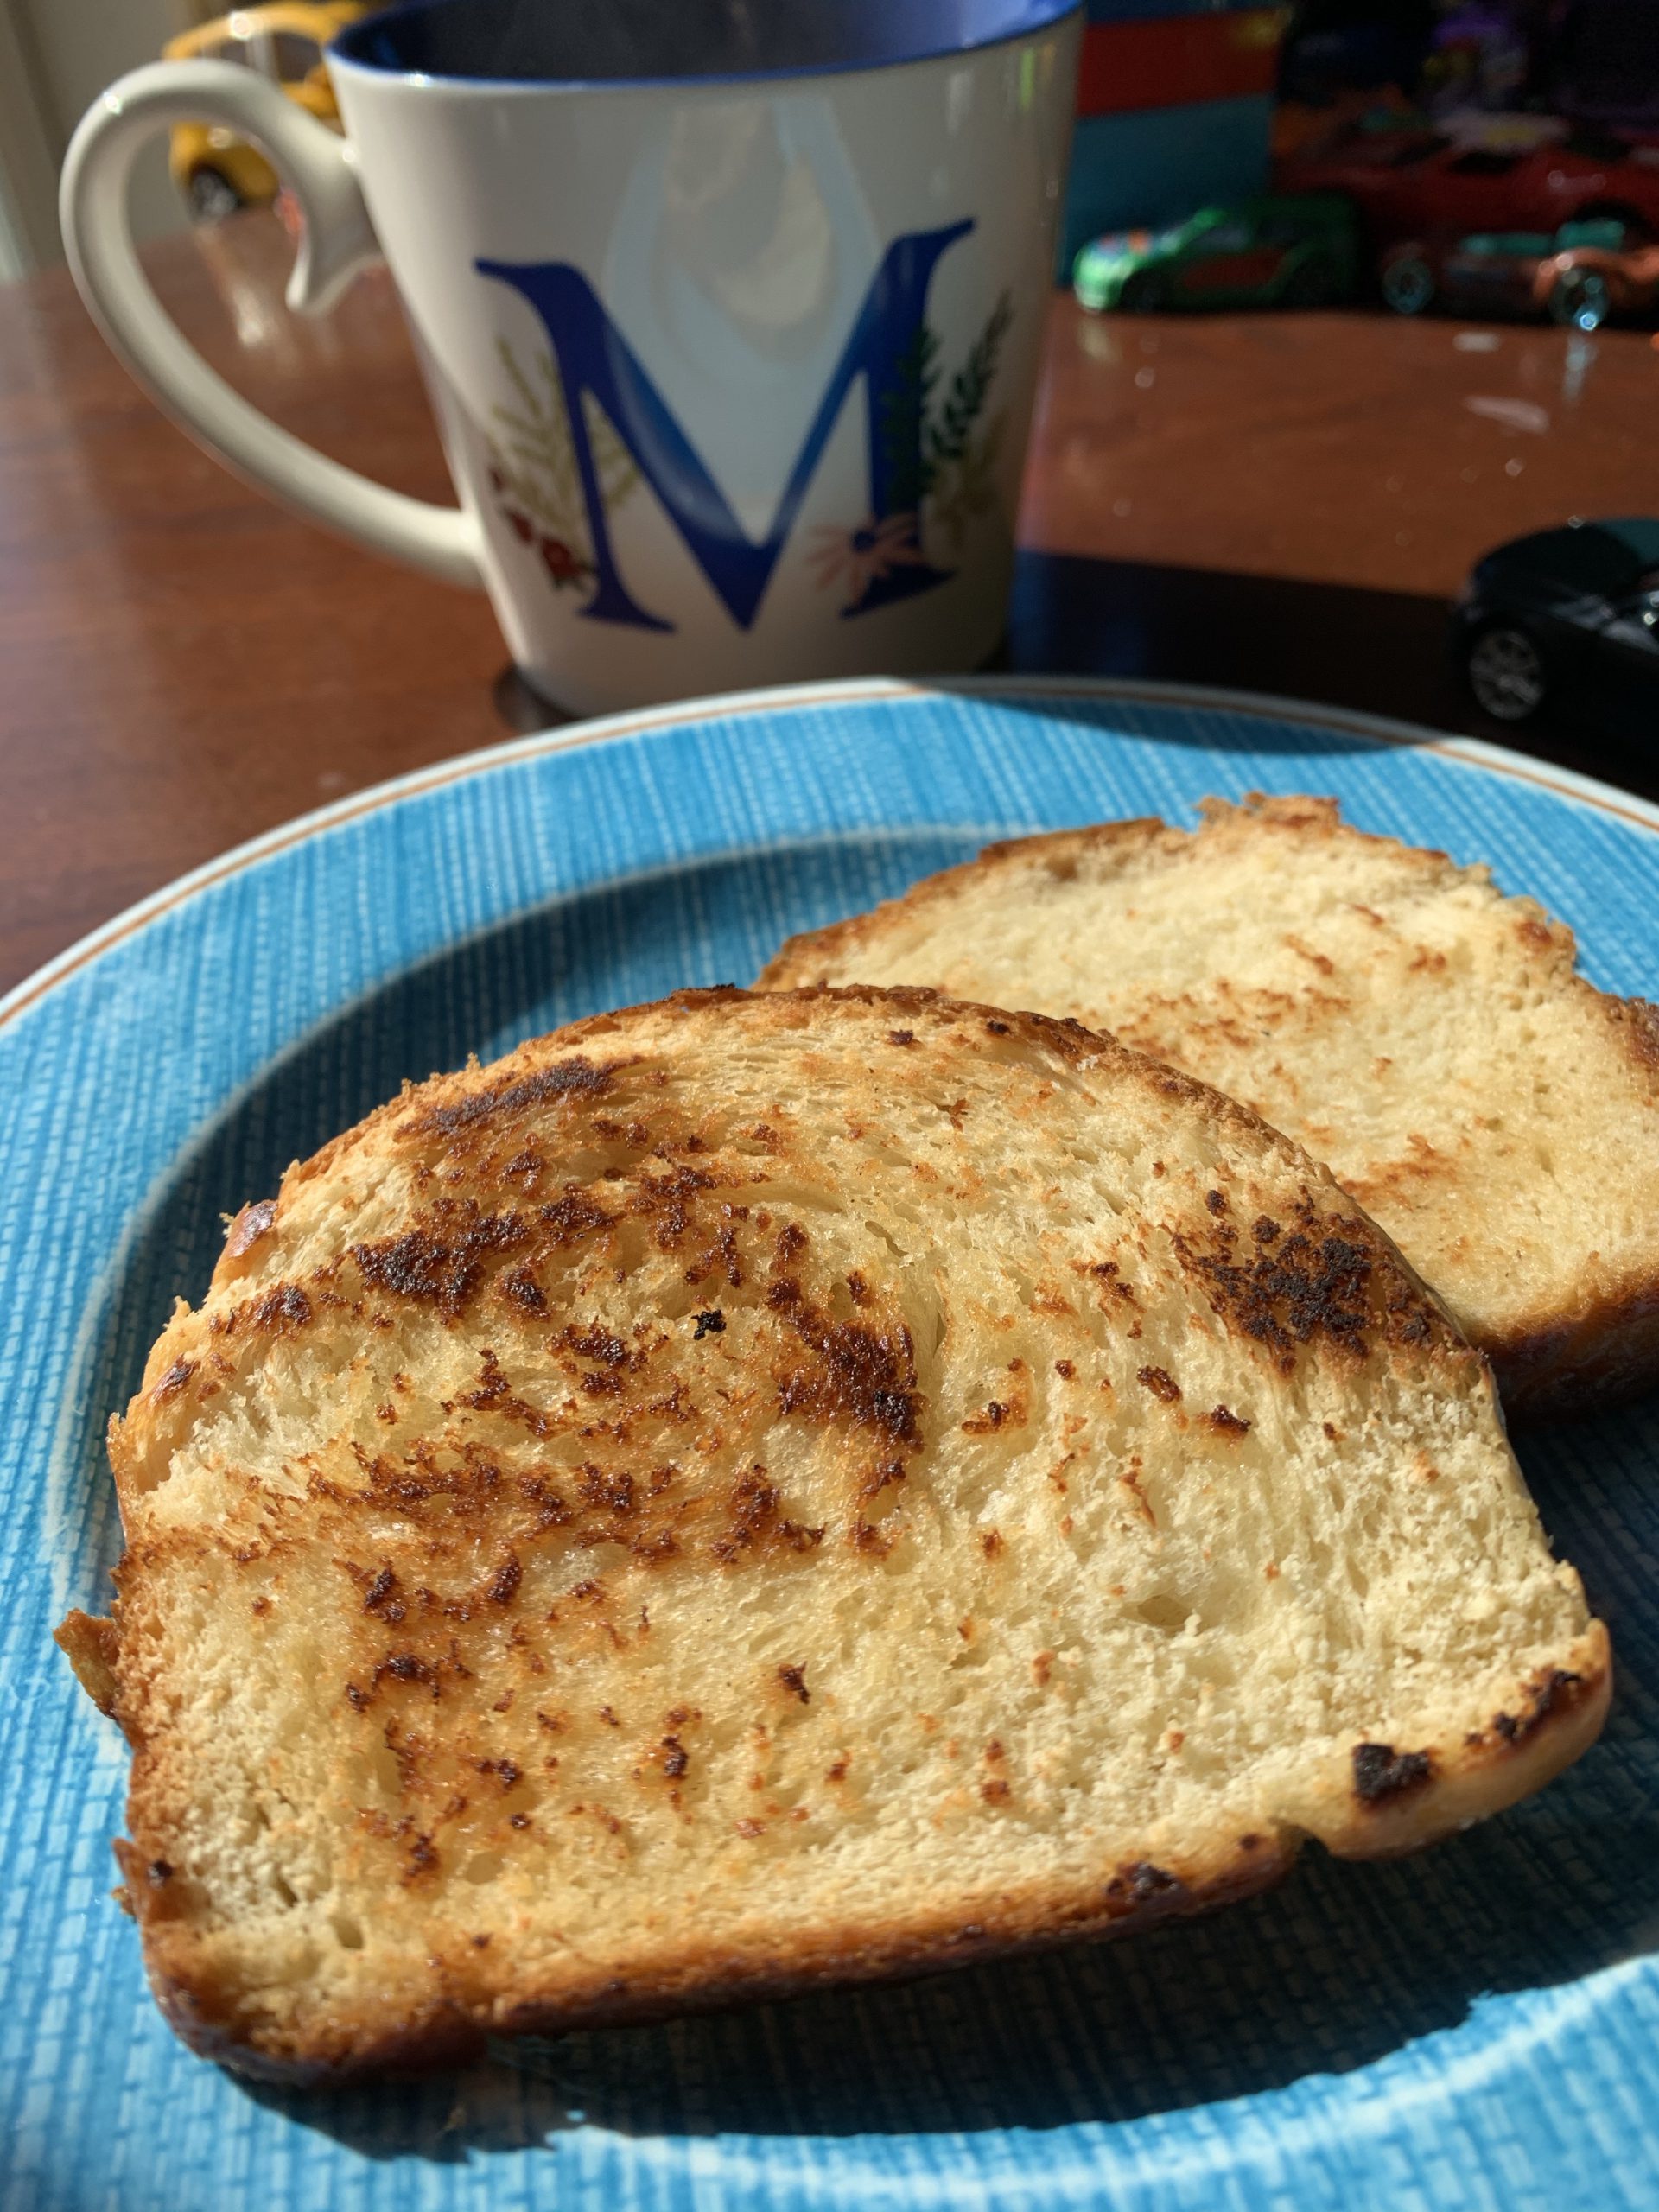
Honestly, we love bread, I mean who doesn’t! And VJ and Arlo absolutely love home made bread. And me too! Especially right after it comes out of the oven, piping hot, slathered with butter. The smell that fresh bread fills is just amazing. I feel I can get this recipe done better. But right now it’s a favorite among all, my sister told me that it’s amazing, and she’s my hardest critic, so I’m going to believe her. This is the first recipe I have tried by myself without following a recipe and I am proud of myself for that. I still haven’t achieved the light airy texture that you find in the bread in Olive Garden, but I think they use bread flour. This bread tastes similar to the milk bread that we get back home. Again I’m not an expert in baking bread. I’m only an amateur that loves baking bread.
I have seen different recipes for milk dinner rolls that use milk, but they are all Japanese Dinner Rolls and didn’t have the ingredients needed for it. So I pulled out the kitchen aid, added what I thought would work, and prayed to the stars that it would work. The first proof wasn’t bad, it doubled in size in 2 hours. The second proof was what I was worried about. But that tripled in size in just an hour, making me extremely happy. The first time I made it it was much better than the second time. The second time the dough was a little hard and not wet. It needs to be a little wet, which makes it easier to knead (at least for me). You don’t need to knead the dough for long. Just a few minutes to make sure you are activating the gluten in the dough.
Ingredients
All Purpose Flour – 2 and a half to 3 cups
Active Dry Yeast – 1 and a quarter teaspoon
Milk – 1 and a quarter cup
Salt – 1/4 teaspoon
Honey – 4 tablespoons
How To Make
Step 1: In a bowl (or a stand in mixer) add warm milk. Milk should be warm enough to leave fingers in for a few seconds. To the milk add salt, honey, mix well and add the yeast. Leave it aside for 15 minutes for the yeast to bloom.
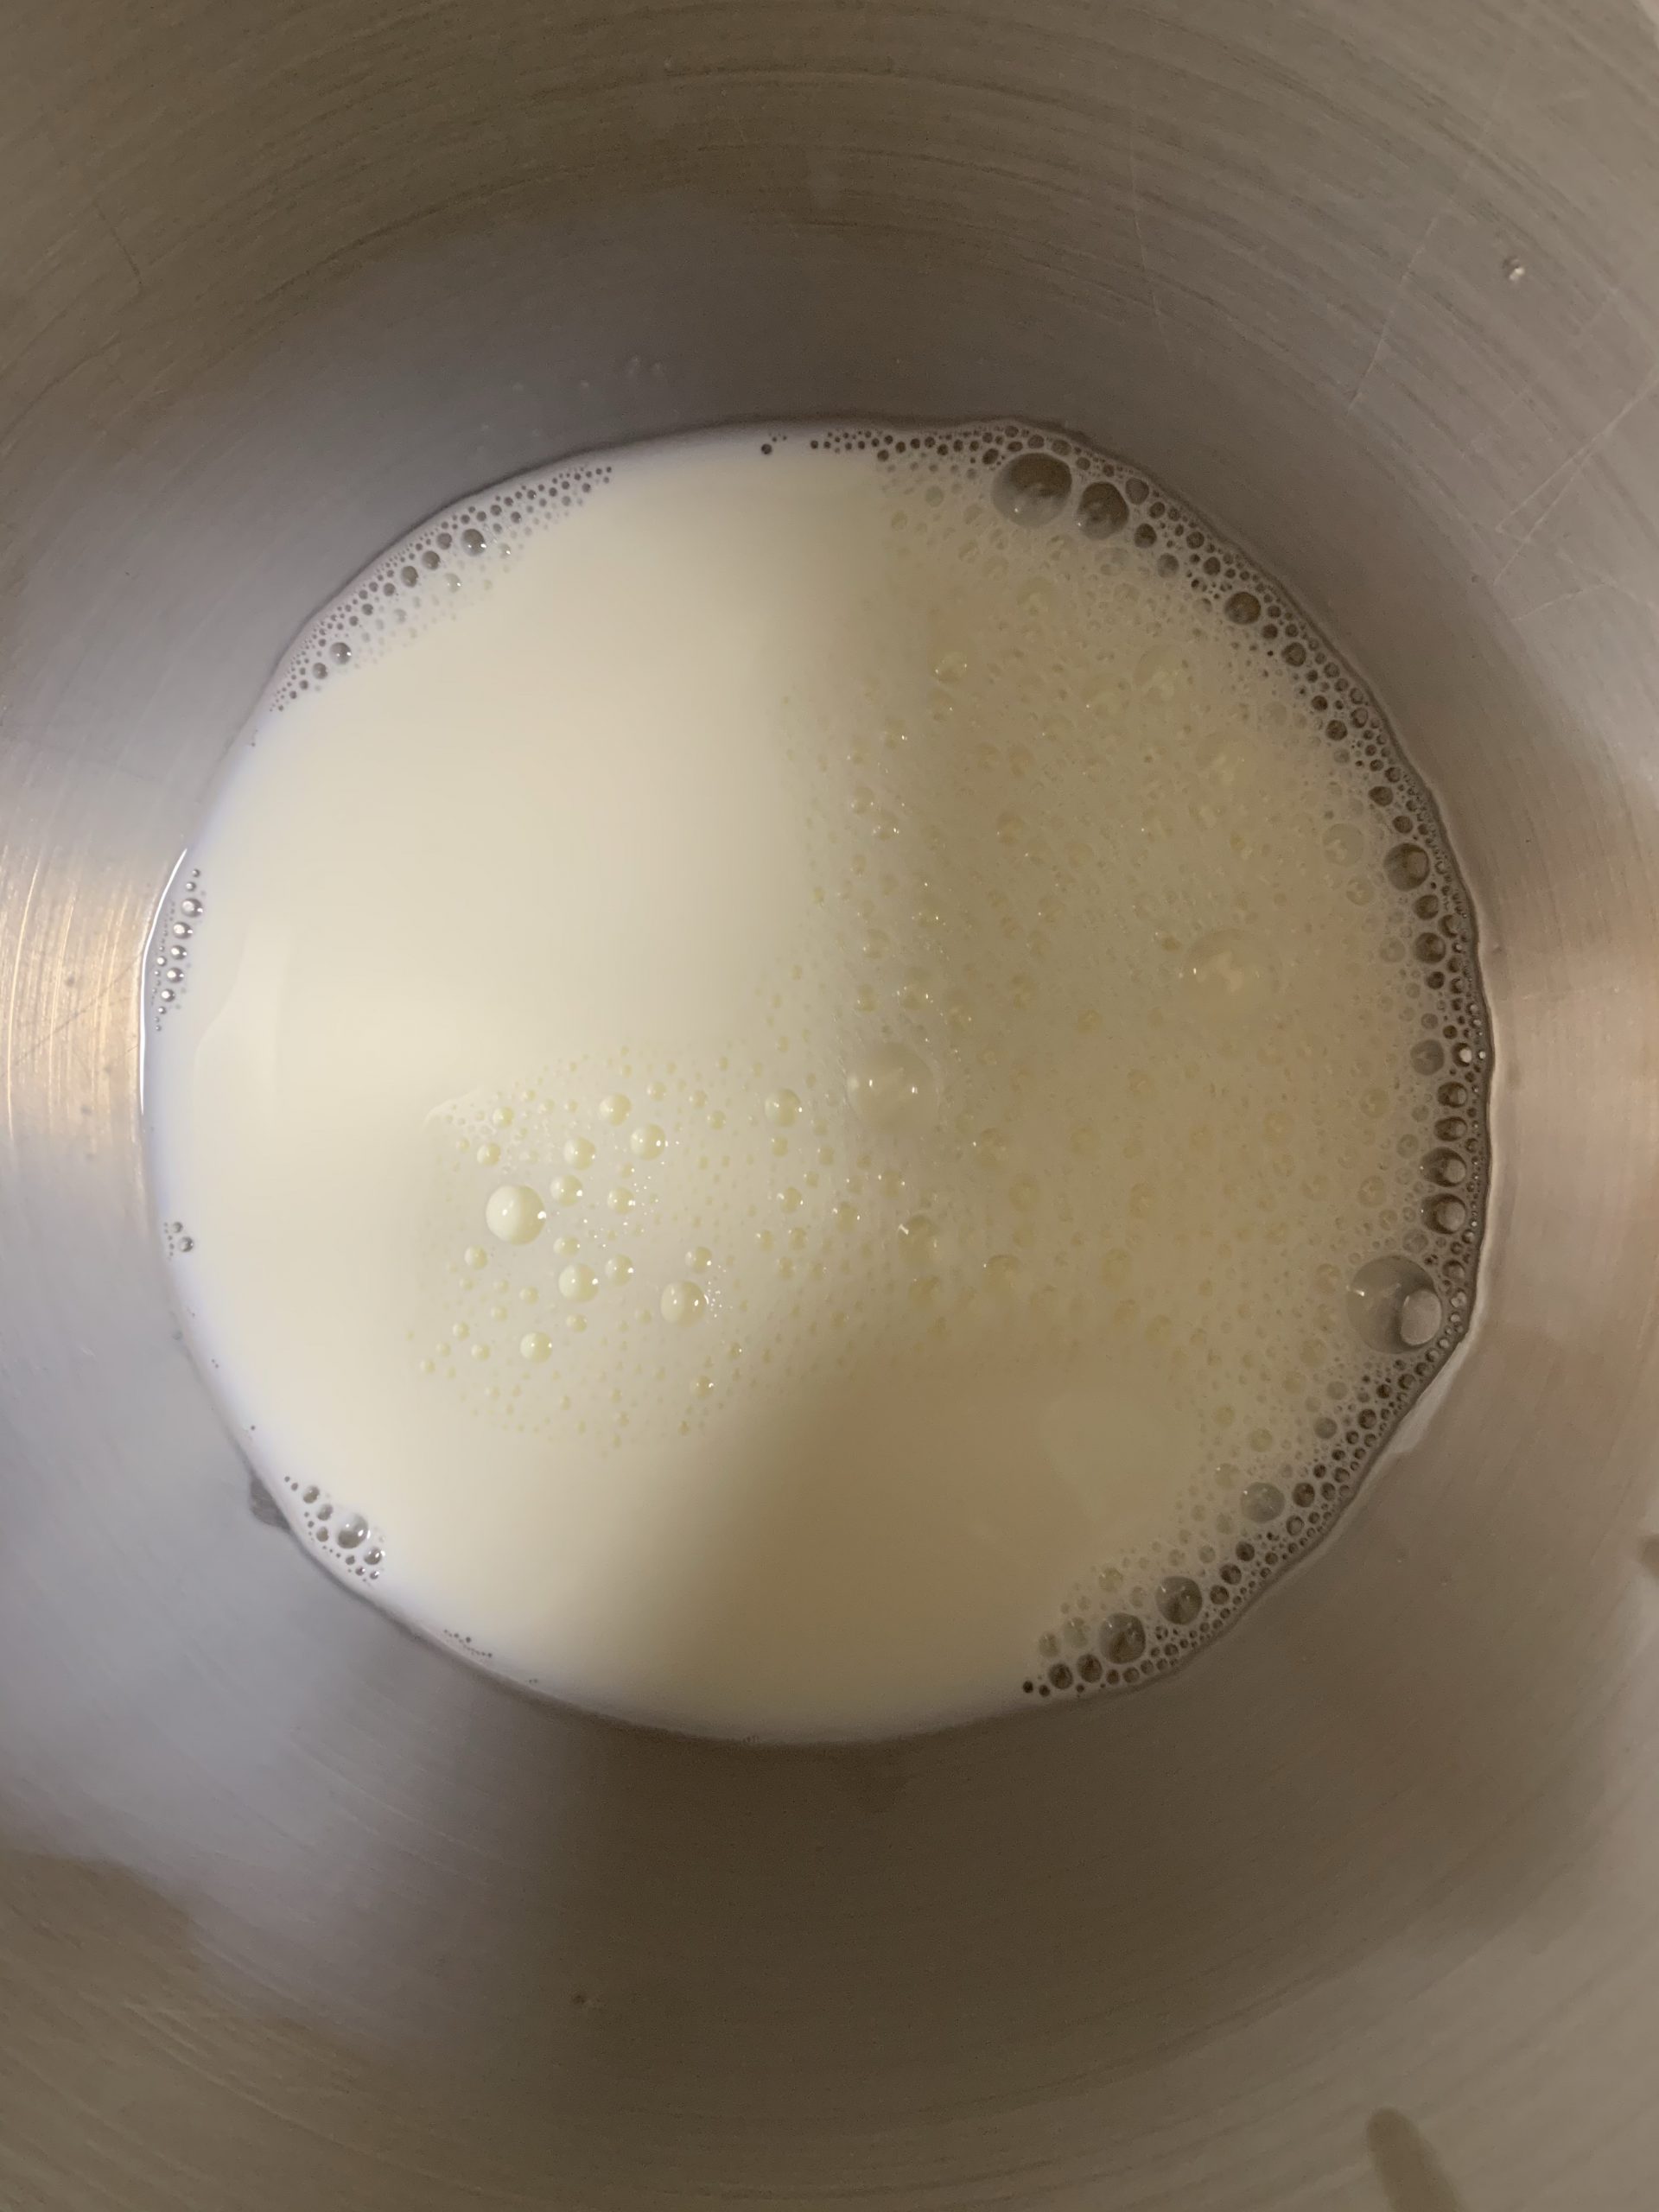
Warm milk 
Adding Salt 
Adding Homey 
Adding Yeast 
Leave it aside to bloom
Step 2: Once the yeast has bloomed, add the flour one cup at a time. Let the stand in mixer bring all the ingredients together.

Yeast bloomed 
Add flour 

Step 3: Place the dough on a flat surface and knead it for at least 3 minutes. Do not over work it as the dough might not rise. The dough shouldn’t be too hard, or too wet.

To knead 
Kneaded dough
Step 4: Grease a bowl large enough for 3 times the size of the dough, make the dough into a nice ball and place it in the greased bowl. Cover it with Saran Wrap and put it away in the proofing drawer or a warm place for the dough to rise.
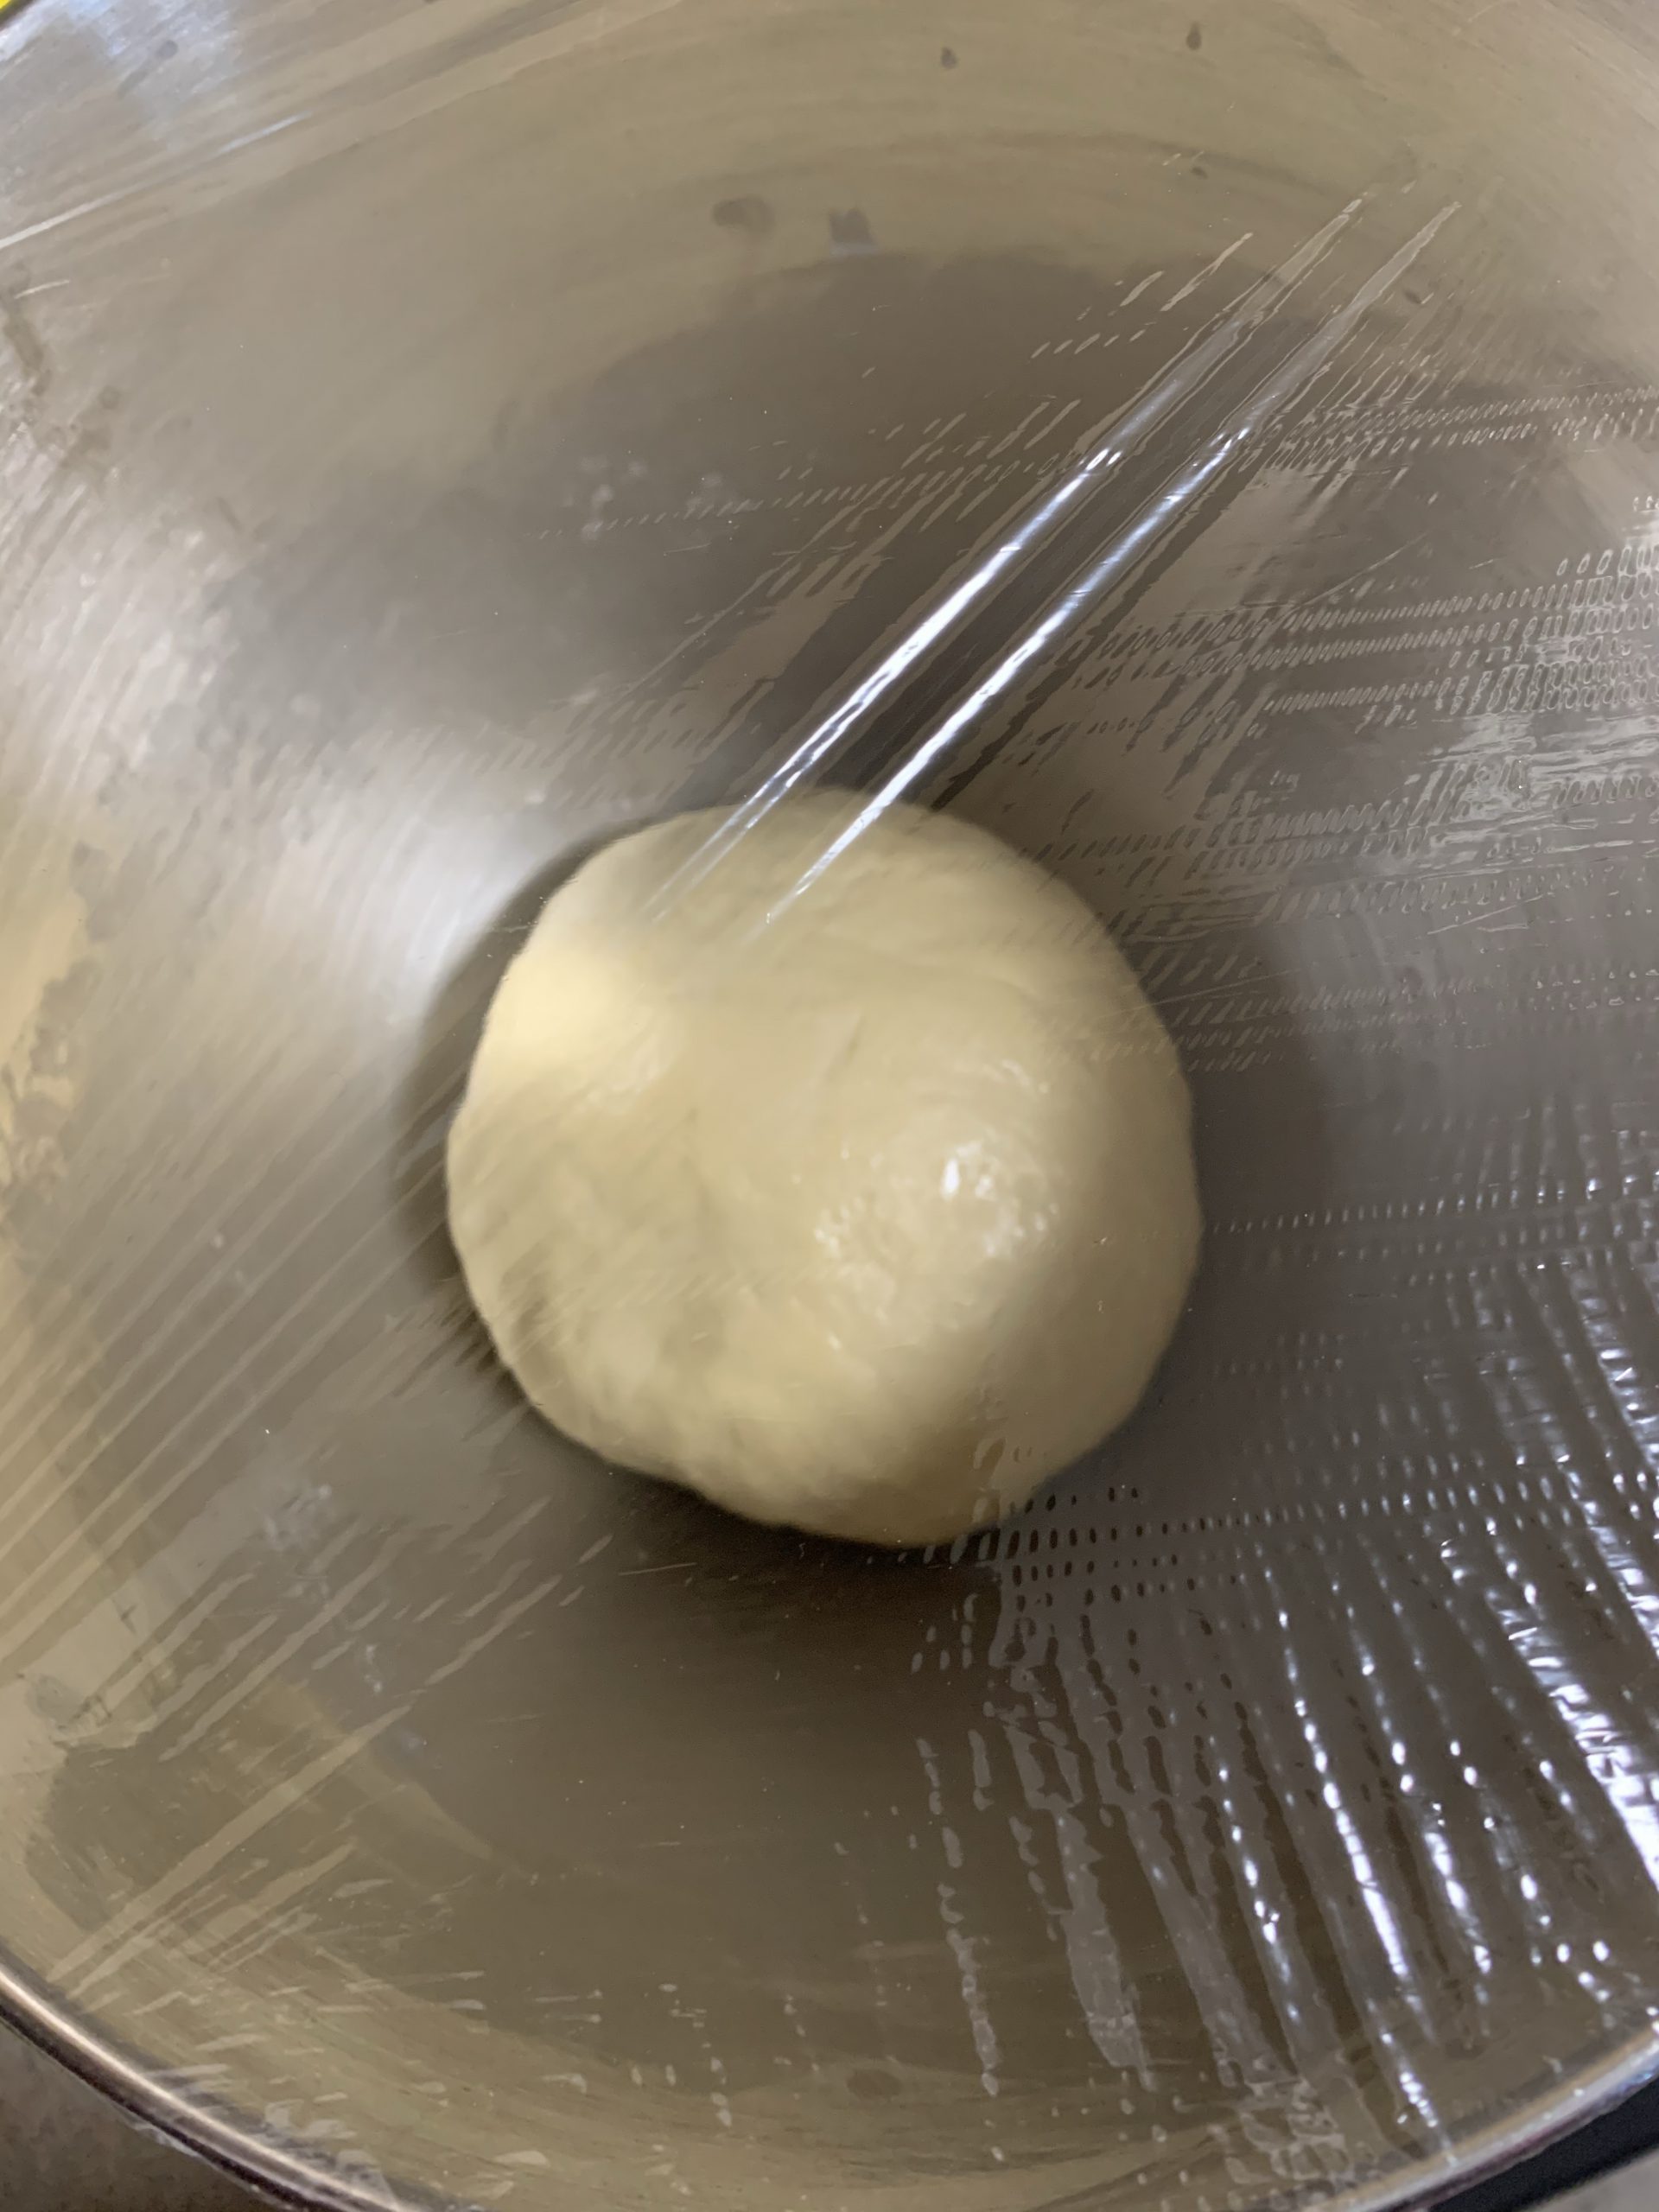
Greased bowl with Saran Wrap 
Dough has risen
Step 5: In approximately 3 hours check on the dough, if it was risen, take it out. If not leave it in for another hour or so.
Step 6: Roll the dough out with a rolling pin into a huge sheet and roll it into a log. I’m still an amateur at this and my loaves most of the time come looking out weird looking.

Loaf in greased bread tin 
Cover it with a wet kitchen towel
Step 7: Grease a bread tin with either butter or oil, and place the dough loaf in it, cover it with a wet towel and let it rise for another 90 minutes.
Step 8: Preheat the oven to 375F. Make sure you use an oven thermometer so that the temperature is accurate to that of the one that shows. Once it heats up, brush the loaf with some milk, and put it in the oven to bake for 28 minutes

Preheat to 375F 
Brush with milk
Step 9: Once the loaf is done, tap it to make sure it sounds hollow. If it doesn’t, send it back into the oven for 4 more minutes.

Step 10: Once the bread is done, give it 5 minutes before popping out of the tin. Brush it with butter, once it has cooled down, store it in a ziplock or a bread bag.


♥️ Mahi